Showing posts with label paper. Show all posts

Monday, February 12, 2018

A good studio week

On weekends I try to sew clothes. I think I said that recently. The week had been moving along so well that I couldn't bear to change directions although I did try on Sunday to get a few small things prepared to sew a shirt for Steve.


On the paper and cloth side of things, I managed to do some pin tucking. A double needle is used on the sewing machine and two lines of thread are inserted into each needle.


I pin tucked some paper,


some cloth,


and some glued paper. The twin lines show up best in the cloth, which is flexible enough to tighten up and show some texture. On the paper, it adds a ghost of line-work.


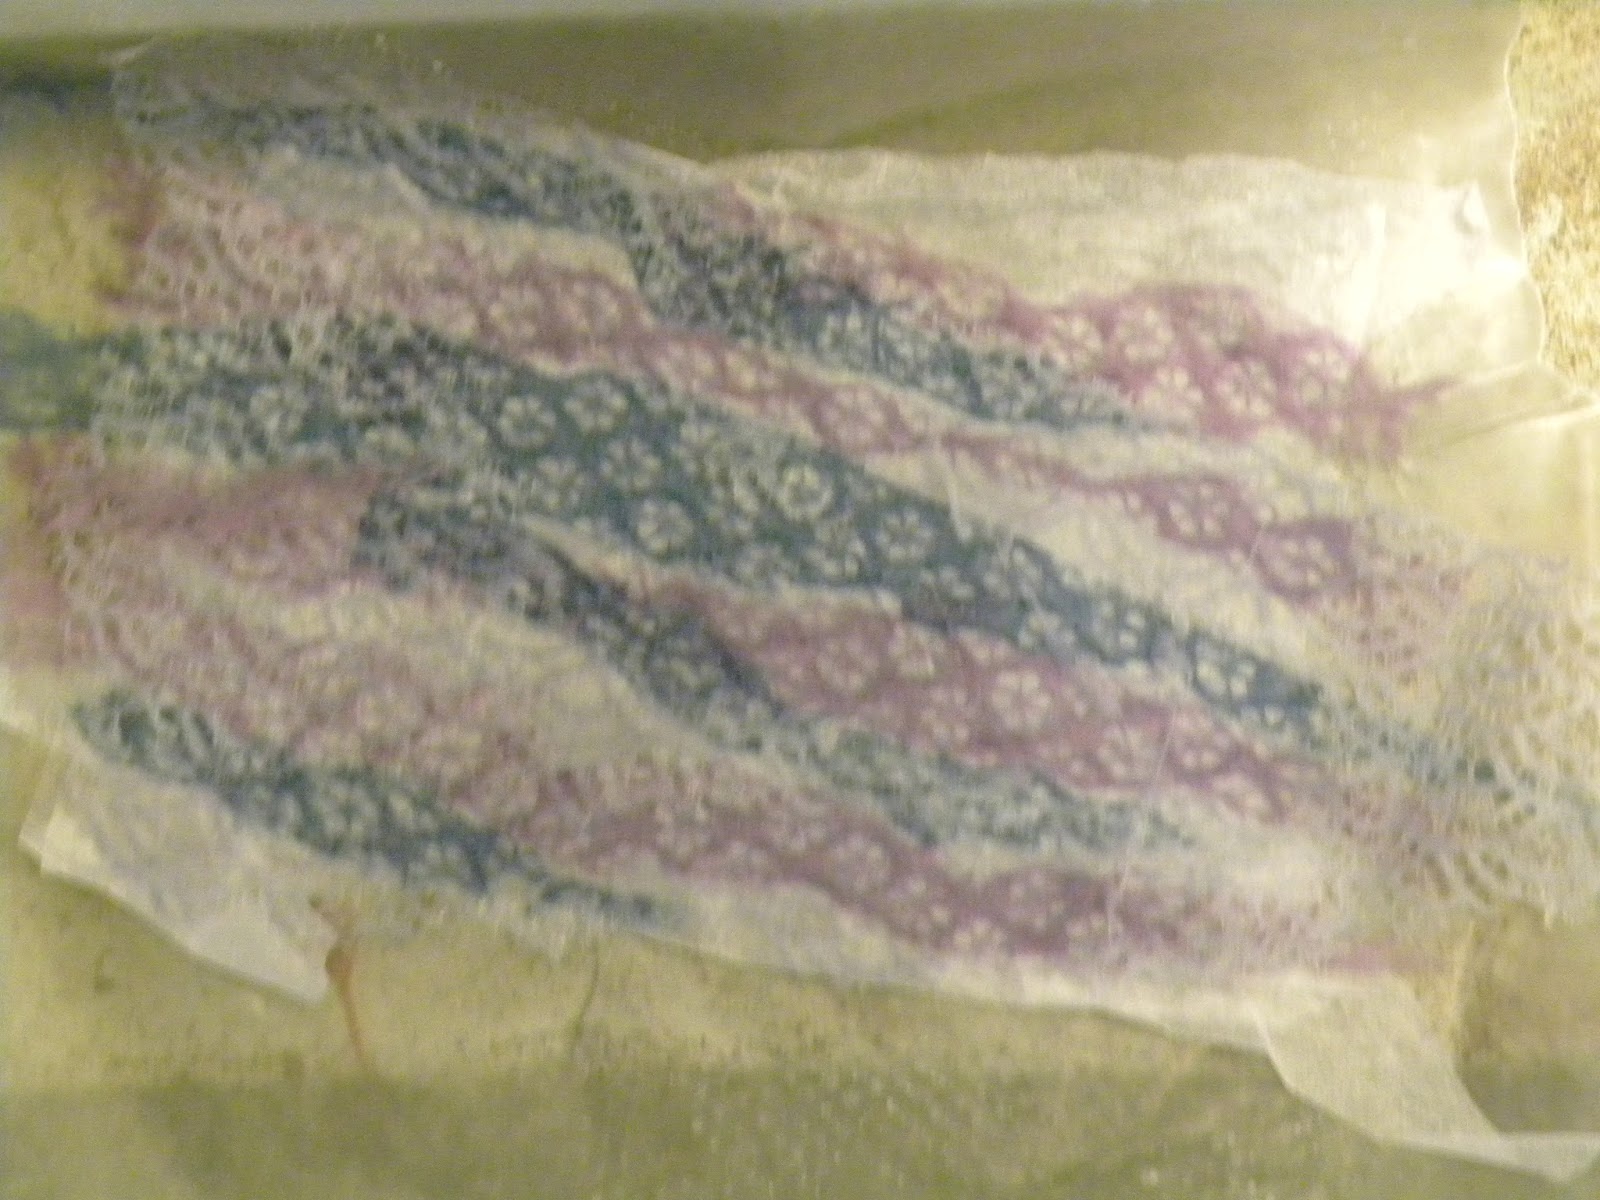
I wanted to make some paper lace as well. I used an easily torn paper, free motion embroidered circles along an edge and then tore away the unsewn parts. While that was happening, I had a stroke of brillance and this happened. I haven't any plans for them yet, but I think they are kind of cool.


Oops, sidewise photo. This is a long paper piece. Long pieces are so hard to photograph. I moved it to a beige background and took a couple of close-ups.


There are three kinds of torn paper sewn by machine together, then I added some couching and stitch work. The bottom edge is the paper lace I was speaking about. I am using two spring like greens, to help keep me from tearing my head off. I like snow in winter. It is bright, reflects whatever sunlight we have, hides all the brown and is romantical (once I have finished shoveling the paths and driveway). It has been a dreary grey/brown winter so far, my least favourite colour.


Towards the bottom of the paper I added a small patch of lace and french knots. Looks like a better close up is needed. Tomorrow's work.


While waiting for something to happen, I forget what, I sketched a bit. Girl waiting with bus stop. It is a mobile bus stop, she can take it anywhere.

Monday, February 5, 2018

Lots of Glue

On weekends, I promise myself I will sew clothes for myself and Steve, but this weekend, I pulled out all sorts of paper, glue, wax paper and paints. I swept aside all the kitchen chores and refused to relinquish the kitchen table.


I tore paper, glued it back together, added other paper and glued it on to paper.


Watercolours don't work so well with the papers that I have been using. The paper is too thin and the colour just seems to fade away.  I am trying inks on some pieces.


Rayon paper is interesting to work with. It is fragile and tears easily, but once it is in place, it holds up nicely. There is a very pale mauve laid over the two stronger colours, softening everything a little.

On paper that had been painted this summer with disappointing results, I added more layers of paint, this time watered acrylic and then added a white wash over everything.


You have to squint a little to see that I added paint to the glue for one piece,


then everything hung to dry, along with two bras.


A day later, I hung it all up to photograph.


This is a very light tissue paper called Swedish Tracing Paper. It is supposed to be used for making patterns in dressmaking, but it is sooooo easily torn. I don't know how it wouldn't frustrate the hell out of the dressmaker. Since this will eventually be torn again, it doesn't really  matter.


When I was putting paper away, I discovered a roll of the pink, red and black rayon paper. I had left over glue and decided to add these colours to the collection. In a few weeks some more rayon papers should be delivered and I hope to add some greens and pale blues.


Underneath these colours are some truly awful reds and oranges in watercolour. After adding the blues, greens and yellows, I was still unhappy and decided to add white directly to the paper. The brush was a little dry and there wasn't much paint in the dish. The thin white glaze was just the thing to sort it all out.


I am happy with both these pieces. Above, torn strips of tissue paper glued over each other randomly, as well as flecks of the mauve rayon paper. A couple of blue bits blew in when the cat jumped onto the table to see what was going on.


This is the highlight of my day's work. This began as squished pansies and hydrangea petals. It is my next project (along with the other 4 or 6 or 10) . First I reinforced the back with a sheet of paper, then I took a huge breath and added some blue acrylic splatters and lines, then another deep breath and some light mauve lines and splatters. I think there are some soft green splatters in there as well. After my heart rate came back to normal, it went back up again. I think I've succeeded in making this a background that will be very fun to stitch into.

Monday, January 29, 2018

Returning to a Squish piece

I keep getting distracted by the class work for Karen Ruane's courses. Currently, we are working on a stitch dictionary exploration.


She is also running a 12 month paper/cloth book course that is super interesting to me. You can join in anytime.


I have had an intention for some time to include Spirograph in my paper work and I have finally done it. You will see more of that in the weeks to come.


I get a kick out of this one, it has heavier paper and is a bit more structural.


On the other side of the spectrum, there these delicate sheer papers that are very cool (and difficult) to work with.


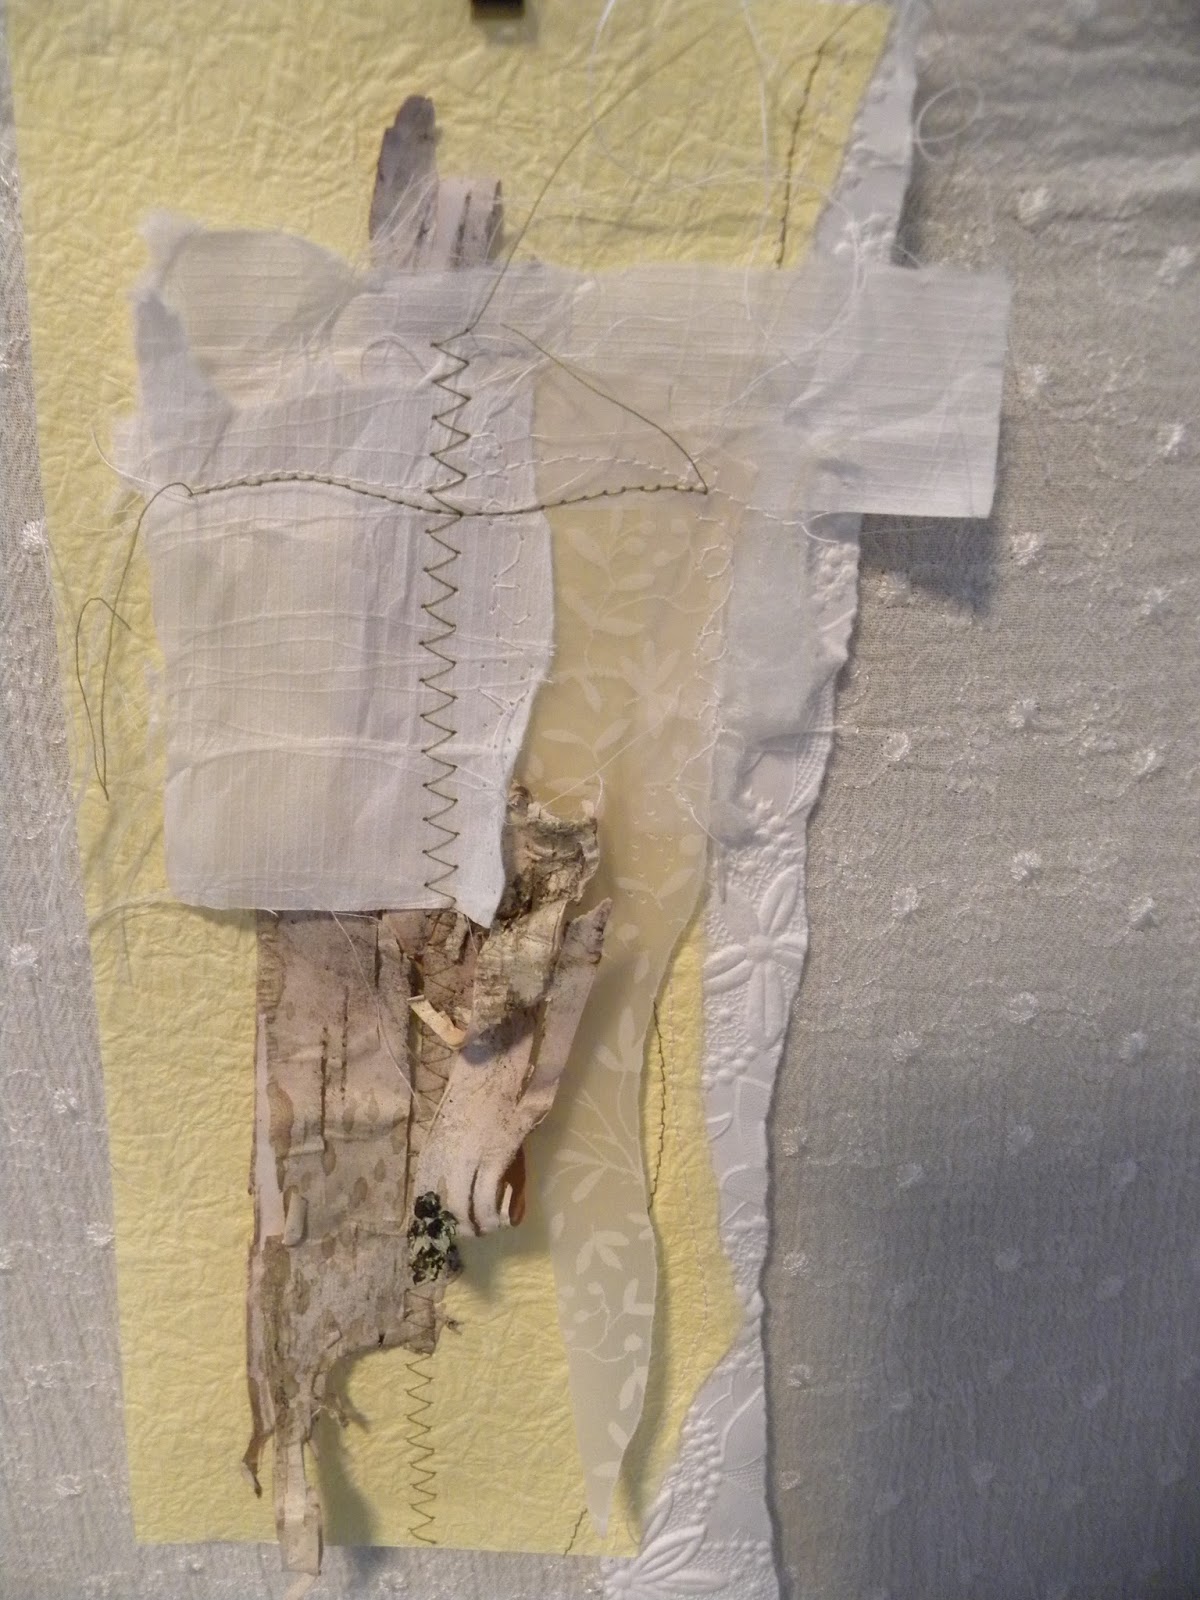
My other intention is to work with birch bark somehow. This is my first experiment. It looked fine until I added the green zig zag. Obviously, a better photo is needed.

But back to the squishes. Rosehips and Rowan berries were used here. The original plant matter are in reds/oranges/yellows and sour greens. The squishes have faded to a dull orange. That's OK because the intention of the squishes was to create a map of where to stitch. I have a full spectrum of threads and fabrics to use based on the original plants.


 I started this work last January, creating holes and some background stitching that can be stitched over.


A trailing path through the plants is also nearly done. I plan to make colour splops along the path, creating an imaginary journey through an imaginary plant that is both rose and rowan berry.


Many artists include realistic images in their stitching and I've been debating if a family of dragons should live in this garden or not. I can eventually draw an image, with much erasing and tracing but transferring it to fabric seems impossible for me. That's why I avoid straight lines and realism. I'm not sure where to go with this notion. Birds and mice, while cute, are very expected. We don't have enough imaginary creatures that haven't been used endlessly. A sphinx?

Monday, February 27, 2017

A little book

I was in Ottawa last week visiting my daughter and I met my sister there as well. We had a great time together, but of course, none of us remembered to take photos.


Once home, I realized I could take some pictures of my purchases. This is a large print wool knit with just enough fabric to make a gathered straight skirt for next winter.

I love this other wool knit. I have enough for a long sleeved t-shirt or tunic. Hopefully, it will be cover as far down as my bottom, for a tunic look.

Then, I started a little book for my sister. It is a combination of collage and pages with stitching. What follows are images from the eight pages and inside covers.

These are slightly pointless booklets. The pages are fine for writing on, but I have trouble writing on a pages that has decorations on it. I'm not sure if my sister has the same inhibitions.

This is the second page with an insert of music paper with lace and some stitched torn paper glued behind. In the upper image, I thought the music paper looked too bland.

Page two with a glued collage of fussy cut cherry blossoms and daffodil overtop an upside down cloth house.

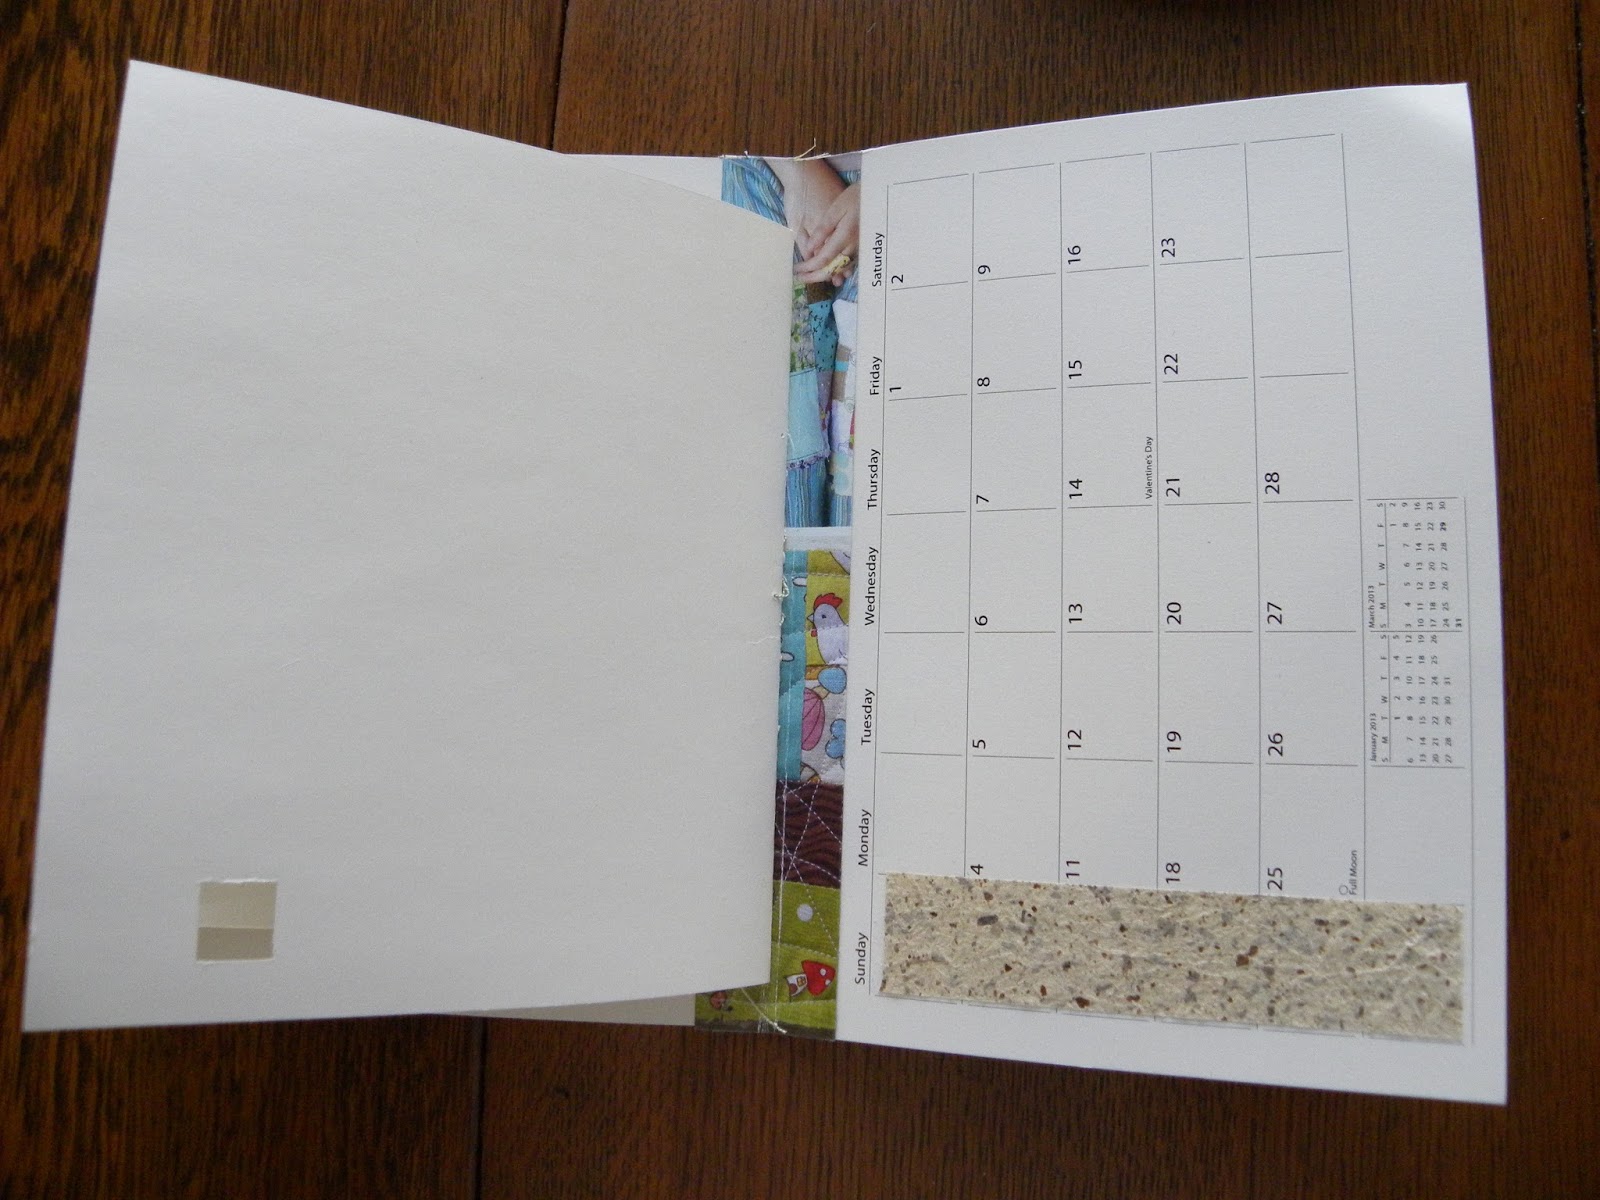
Between page two and three is an inserted calendar page with stuff glued on. I was never convinced by this page, it just doesn't click. But it has a hidden edge a few folds over that I love.

The stitched edge is the hidden side of the calendar page while the grassy bit is the continuation of the rooster page. I've added grass style stitches and a button to the flower's centre.

The third page. Collage with three circles of seed stitch and french knots.

Closer view. The grass area had a rooster image that I used elsewhere. I used some cross-stitch pattern paper behind it and added an eye and coloured in the beak.
The centre fold. The three dots are the back of the seed stitches and french knots on the rooster page. The Japanese paper in the centre fold is where the stitching is to hold the pages together and where the pages join the cover. Thin grey/green DMC cord has been used for the binding stitches.

Page 5. A simpler page. The left side is the continuation of the Rooster page. The right hand side of page 5 are two strips of seed stitch, french knots and the grassy stitch.
The music page insert appears again with some free motion embroidered lace, embellished with a variety of stitches in white DMC coton a broder. The back of page 5 can be seen on the far left.

Detail of above

Page 6. I left this plain. There is a small cut out on the bottom right edge that gives a glimpse through to the back cover.

The inside back cover. I've used two calendar pages for the covers. They are stiff and should protect the pages if the booklet goes into a busy purse or bag. If I had planned this better, I would have placed the brown japanese paper in a different location. Then the little cut out from Page 6 would have been in a different location and when the page is turned, as it is in this image, there would have been an option to place something to look through from this side. As it is, it poorly placed for that to happen. Next time.
And the end.

Monday, February 6, 2017

A Paper Day

Along with stitching on textiles, I also fool around with stitching on paper.


I bought some black drawing paper to see how it would respond to holes and gluing. In this sample, I set the sewing machine up for Free Motion Embroidery. Using an unthreaded needle that was dull and not suitable for textiles and the feed dogs lowered, I moved the paper around. I didn't use a hoop. This is a nice difference that tissue paper. Tissue paper, or other light paper really needs a tight hoop to get it to move freely under the needle. This stiffer paper needed me to hold on to the edges only. I did not have a picture drawn on the back to follow. I only knew I wanted circles in one section and loose lines across the page.


This little composition is on mat board. I've used the inside of a torn envelop, some japanese paper with a floral motif, some torn magazine pages, a bottle cap liner, and some water colour paper for the bird.

I used a glue stick to get things to stick. I am beginning to suspect that there is either a big difference in different manufacturers of glue sticks or the quality of the glue has plummeted. Several small paper pieces are losing their stick. I am going to switch to using a brush and the old fashioned white glue.


For the bird, I used scraps of water colour paper that had things on it that I didn't love. Cut up into smaller bits, it became a good resource. I've needle pricked the bottle cap liner and added some gold french knots.


Along the narrow edge of the envelope, I have crossed stitched with the same thread as in the circle motif.


For a completely different project, I experimented with making a slit in a thick paper and slipping a prarie point through the slit, then securing it on the opposite side with a running stitch or french knots. The leafy triangle is fabric, the stripes is Japanese paper. I'll have a few more paper pieces over time, but now, the kettle boileth.

Tuesday, March 15, 2016

Re-inventing the page

Karen Ruane, the guru of neat things to do with stitch and sometimes paper, has an online course called Reinventing the Page. (http://karenannruane.typepad.com/karen_ruane/newreinventing-the-page-online-learning.html)
We started by looking through previous design sheets or inspirational sources. I love 1950's textiles and drew a few motifs and settled on these.

Then I fooled around with some placement ideas.

Hmmm. Not so much.

This is better. I don't love the final design as a piece to concentrate on, but it will work nicely as a spring board for the coursework.

I'm on a small mauve kick. Acrylic ink on acrylic paper. The mauve rectangle is meant to be a place-holder for future techniques, such as collage, inserting textiles or pinpricking.

We traced the master template and then fooled around with background options. I've used an enlarged line of the leaf.

As you can see, the master becomes lost. This background might work as a stitch map for quilting or maybe as a placement block for changes in background colour. I abandoned it.

I like this background motif better, but don't think it brings anything new to the master.

I was getting tired and settled on the ever useful wavy line. Steve thinks it diminishes the tension between a fully drawn element and an element that is unresolved. I agree. However, the leaf and rectangle look plonked on, and plonking must be avoided.

Another option is to enlarge a single motif and see how it might interact. This might work if it was a really, really pale tone on tone behind the leaf, but...time....interest...life....

Here I'm fooling around with acrylic ink on muslin. A lot of the ink sinks into the fibres. That means a few coats of ink are needed and I'm not too skilled at either estimating enough ink to cover everything, nor at replicating colours.  Luckily, these are both small.

That line of bubbles became pretty intriguing after a good night's sleep. I spent a lot of Sunday afternoon messing about with them.

I listened to several episodes of Poirot mysteries as I painted. It was time for some bright colours.
And that's where I'm at. There have been more instructions this week and there are at least two videos to watch later today. I'll keep you informed. I won't be here next week. I'm off to celebrate my Mom's 80'th birthday with cake. Then some more cake. Hopefully, there will be a piece to enjoy while I'm flying home.  See you in two weeks.