Showing posts with label rolling pin. Show all posts

Tuesday, October 27, 2015

Thief in the night

I put on my black cape (everyone should own one, along with their own tiara) and went out after dark. I walked in the shadows. Scissors in hand....I stole things from neighbour's gardens.
Yes, I am that thief, the one who cuts blooms off from the back of your flowering shrubs in the hopes you don't notice.

I feel a little guilty. In fact, I feel a lot guilty. But luckily all those yoga lessons are coming in handy; pay attention to the "Now". That was yesterday, this is the moment and tomorrow, who knows...I might need some more flowers.
Once home, I pulled out my stash of pre-mordanted with alum fabric and began the squish routine. This whole escapade began with the blue hydrangea.
It is such a beautiful color and I fell prey to lust. I had to have some.
I agree, I became a little greedy. I had to have the other two shades of blue/purples as well. For these squish projects, only a few petals are needed, not an entire shrub. Hydrangea flower heads have huge numbers of florets on them. I now have two heads drying in the cupboard. At any rate, only a few florets or petals are needed to squish.
Hydrangea petals and either a veronica or a hyssop bloom
The assumption is that as the seasons turn, petals from other plants will be layered over and around, creating a background to play with for stitching. Maybe in the previous post I didn't mention that the background fabric was made squishing pansy petals, grass and some veronica. I use a marble rolling pin and sometimes have to use the edge of the roller to get the petals to burst open.
The hydrangea left a nice blueish colour most of the time while the veronica or hyssop left a yellow smudge. The colour of the petal is not always an indicator of what the resulting colour will be.
I went back over it with a different hydrangea bloom, or rather, unopened blooms.
Now I love it.
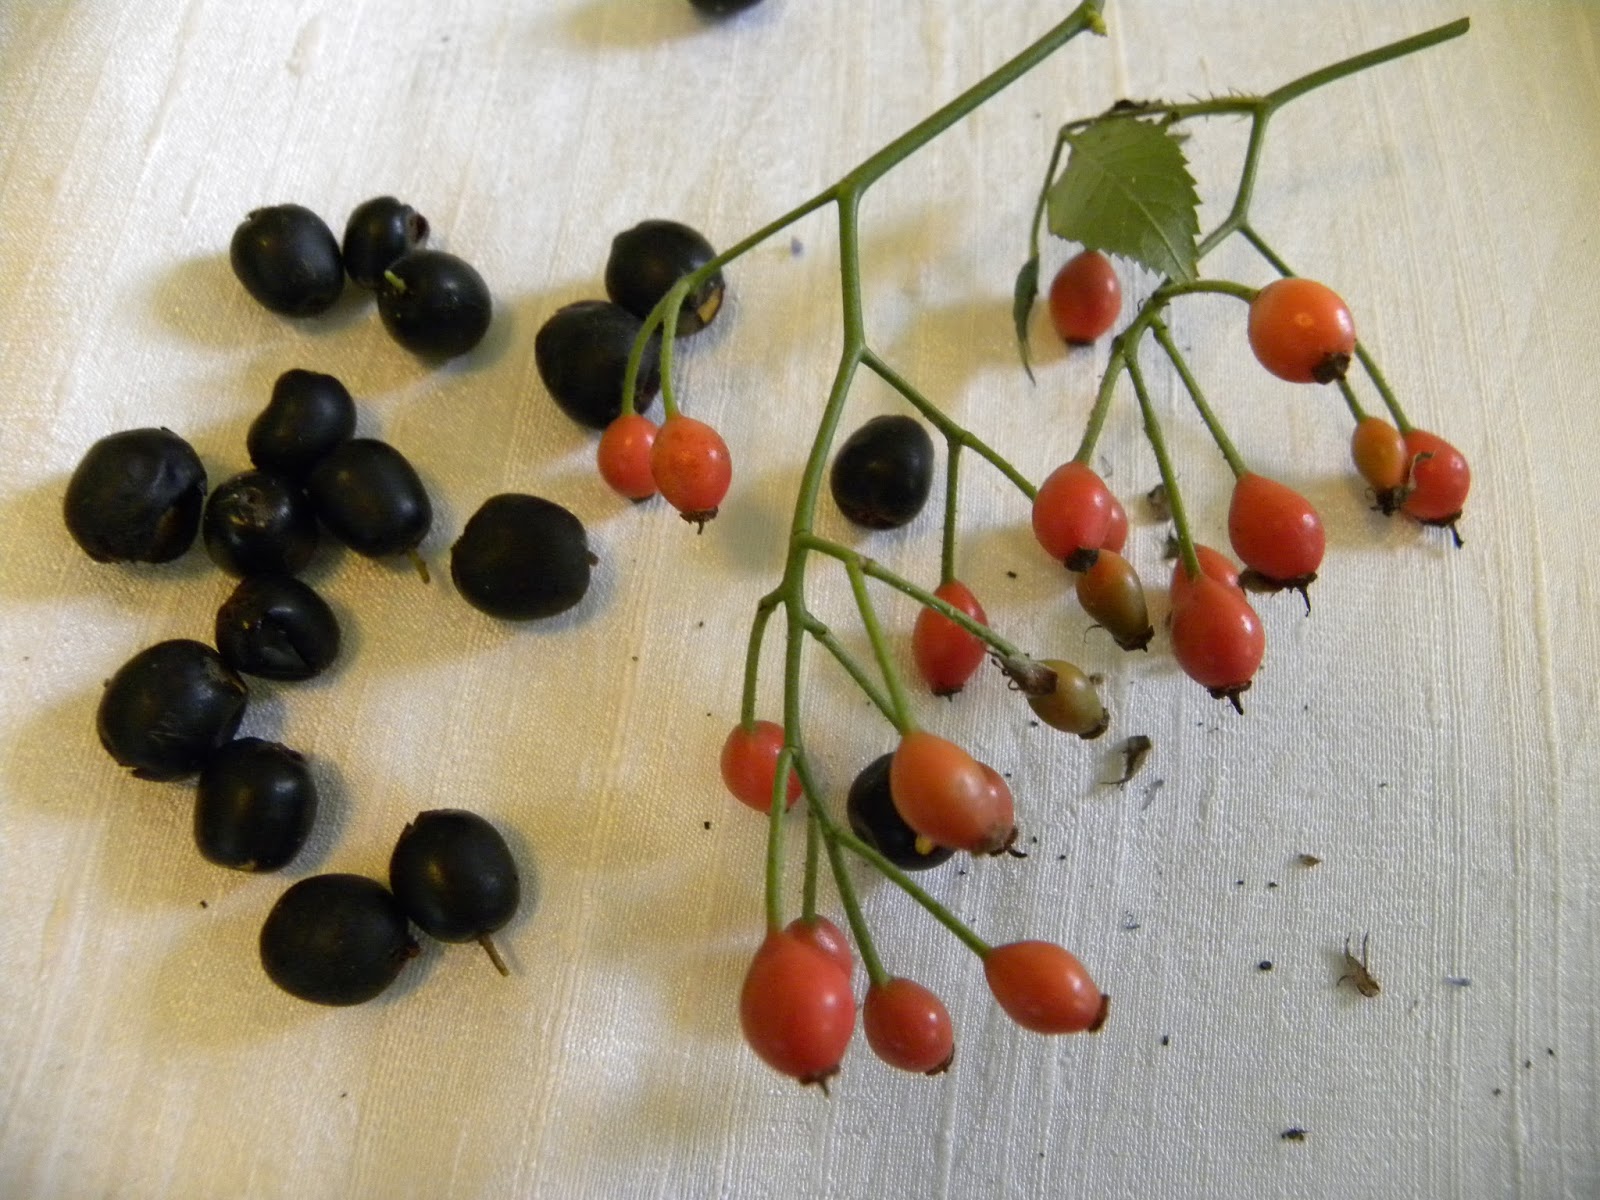
I had some fun with a black/purple berry of some kind and some very small rose hips. I think these are from the Briar rose. These hips are from a neglected garden of an absentee landlord. I felt no guilt on this snipping.
But I love, love, love the results. Well, not really on the berries, these look like poop smears. I used two different types of cotton, the left is an undyed muslin and the right is a good grade white. The berries were fun to work with, they kept popping out from between the two layers, allowing me to rearrange the splodges as I went. The skins were a bugger to get off. I tried using a brush. This left more streaking that I kind of like.
The rosehips also tried to escape at every roll and squish. I should have left it as it is, because I adore it at this stage but I was sweating and having too much fun.
I added some berries and now, I'm uncertain if I love, love, love it. (I changed my mind in only two paragraphs by reviewing these photos) I am not planning to wash the previous fabrics, but I think i will wash this one. It was brighter before. Maybe I'll hunt for some more rosehips and fool around a bit to recapture that bright orange.
I saved the best colour for last and used a duponi silk. I had such dreams. The hydrangea that set me on this thieving spree and a silk, a match made in heaven.
Sigh. From delicate to dirty. But even as I write, an idea speeds through the brain pan. White stitches and a range of mauve threads, a few darks, pale greens and a bit of blue/mauves. Yes, I can rescue this one day.
It's a full moon tonight; no nocturnal adventures. I will search from more rosehips for a darker night. Soon it will be Hallowe'en and then in my cape, on that night, I will strike. (Not the kids or candy, but the rosehips) And blame it on the teenagers.

Monday, September 30, 2013

Sore Throats? Left over bread?

It's that time of year. Scratchy throats, sore chests, cold heads. And too many left over ends of bread that don't seem to have a purpose. Abra ca dabra.

I found this lemon soother recipe over on Local Kitchen (see side bar) who had found it on Twenty-Two Pleasant.

http://twentytwopleasant.blogspot.ca

It is not measurement specific.

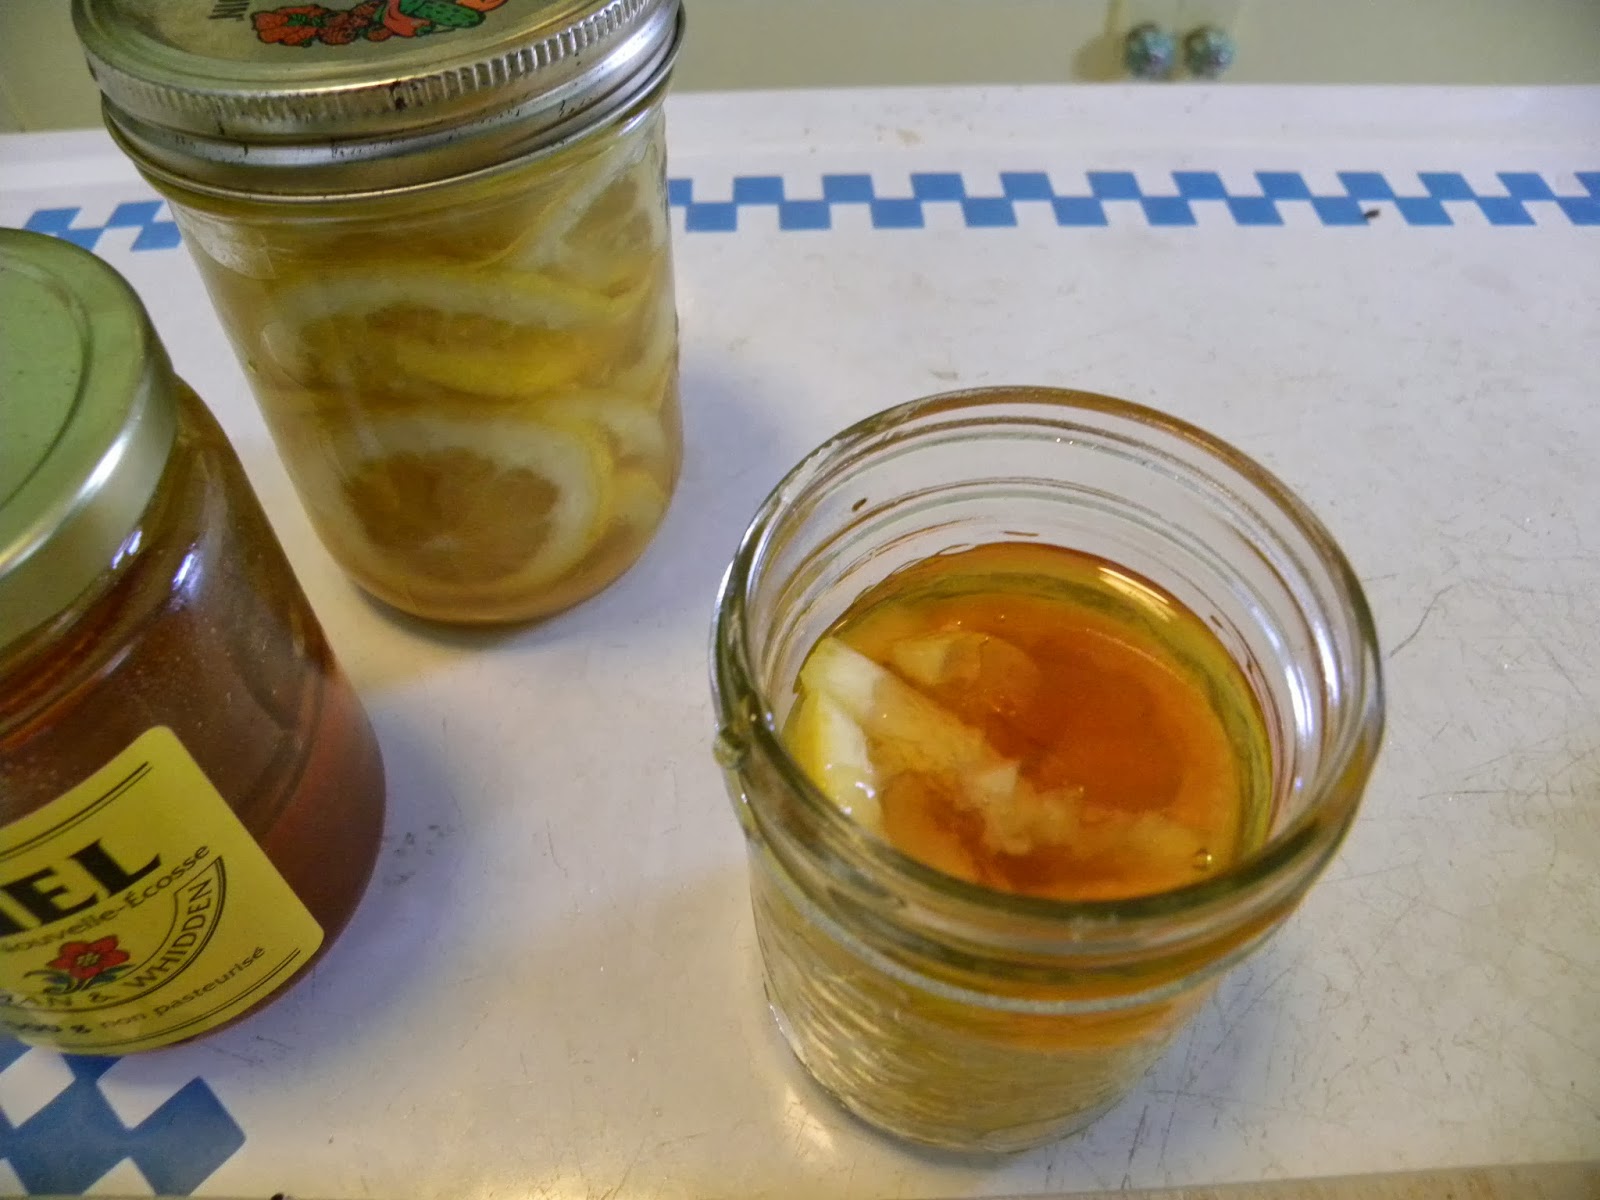
 Slice two or three lemons (after washing skin) thinly. Don't fuss about seeds. 

Shove into one or two or three jars. 

Cover with honey. Let the honey sink. Shake. Cover with more honey. Repeat until lemons are fully covered with the honey/lemon juice combo. This might take a day, depending on how thick the honey is.

Ideally, let it sit for a week. Phoebe and Steve both came down with sore throats and colds. They dove into a jar the same day I made it. They brewed endless cups of lemon tea and loved it. Very soothing. They both added Rooibos tea to the lemon to make a heartier cuppa. Apparently, this lemon honey will do amazing things:
*keep in the fridge for weeks,
*can be added to by either slicing and adding more lemons, or adding more honey. An eternal jar kind of thing.
*co-join with your favourite alcholic beverage for an amazing toddy.
*do incredible soothing strokes to your ego for being home-made, synthetic free and wholesome.
*replaces throat lozengers if you make a tea, let it cool and take it with you to sip as you feel crummy during the day.

TA DAH !

Magic trick number two, Bread crumbs.

OK, for you old kitchen duffers, this should (!) be an old trick. But for the newbies, this is a real money saver. Bread crumbs? you say. How can a jar of bread crumbs save me money? The answer is because it replaces expensive pre-packaged options.

Shake and bake - never used it. Panko-smanko. Hamberger Helper - please. (what puncutation indicates scorn).

Here's how she goes:
Abra ca dabra too

Collect assorted bread ends. Different kinds of breads make for more interesting crumbs.

Then you put the stale bread crumbs in the grinder upper. This style is best, a blender can work but needs to be fed a handful at a time, or it will clog up.

 Pulverize the buggers.

Add to an airtight jar. That little gizmo can be bought in the canning section of Canadian Tire or maybe a grocery store. I love it. It gets used for any kind of jar work. Saves a ton of mess.

Close the lid, put on shelf where you will see it. Add it to ground meat to soak up juices, (meatloaf, meatballs) add spices and use as a topping to give crunch to mac and cheese, tuna casserole, baked pastas with grated Parmesan and so forth. Also makes a nummy coating for fish, chicken, porkchops and other meats I refuse to eat. How do I know it's nummy if I don't eat breadcrumb covered meat. My kids tell me so.

What if you don't have a grinder upper. There is a smaller, one or two cup version for sale that is worth considering buying. Over the course of the year, this appliance is pulled out over and over again and is a major piece in using the food we freeze and preserve.  If I had to give up an appliance to save on electricity, it wouldn't be this one. Or the washing machine.

No money? Then consider a rolling pin. Take a tea towel, a sheet of wax paper, bread crumbs, a sheet of was paper and a second tea towel. Roll away. You won't get a fine crumb but a nice 'rustic' crumb. It won't work for coating meat but the other ideas will still be fine.

Ta Dad Too

A final bread crumb tip. Take the torn bits of bread, get a large zip lock baggie, put bread bits in it, toss in freezer. Keep adding until baggie is full. You now have the makings for croutons or a great bread pudding, especially if you added some raisin bread or sweety breads (like ends of banana bread)

So, if you followed my advice about roasting red peppers and freezing celery, buying real Parmesan, you will have a good kitchen structure to take you through the winter. See you at the farmers market.

Monday, July 8, 2013

Rolling Pin Project continues

Johnson Blue Perrenniel geranium (left front), red dianthus (left back), blue flower, I forget (left back-most), Stella D'ora daylilly (right front), Lady's Mantle (right back)
Many people are putting leaves, twigs and fallen debris into water, and soaking cloth in the mixture for ages to see what they get in the way of dyes. That takes too long.

I've been taking the leaves and petals off plants in the garden, tossing them onto cloth and then rolling the hell out of them. Completely different work ethic (barely there), completely different colour results (there's colour instead of shades of brown) and completely different plant matter (twig/leaf vs flower/leaf)

What follows is a short photo essay on how I did things. I used a very hot, dry iron to set the colour when I was done. No washing at all. I haven't put anything in a window to test for colour fastness yet.

Dianthus petals and chopped stems, Mollis leaves. Lay on one half of textile.
Textile folded in half and rollered. The big purple blobs are from iris leaves done in the spring with the same method.


Neither the Dianthus petals nor the Mollis Leaves did anything noteworthy. Onwards.
Johnson's Blue Geranium petals.
Mirror images happen by laying the half of the textile without floral matter on top of the textile that does. It doesn't always come out this neatly, because things squish around a bit. If a mirror image is not what you are seeking, then lay the top half textile at an angle to the bottom layer.

Mollis before rolling pin.

Textile after rolling the Mollis.
Geraniums, Dianthus and stems.


After smooshing.
Day Lilly petals, torn.


Mollis added partly through Day Lilly layering.

Day Lilly and Mollis.  You can see from the (your) right side, that I folded the cloth on an angle, so as to avoid a mirror image.
The thinner the flower petal, the less colour will come out. Yet the thicker the leaf, the less colour will come out. Sometimes you can get more colour by snipping the leaf or petal with shears, rather than by using them whole.

This is my usual random, haphazard approach. Someone with more patience could try for pattern repeats or compositions. I dropped and rolled. Sort of the way they tell kids to "Stop, Drop, and Roll" when you are on fire.